"start by doing one panel at a time"
doing exactly that..
and i'm not (yet) overwhelmed/.
(was good advice.)

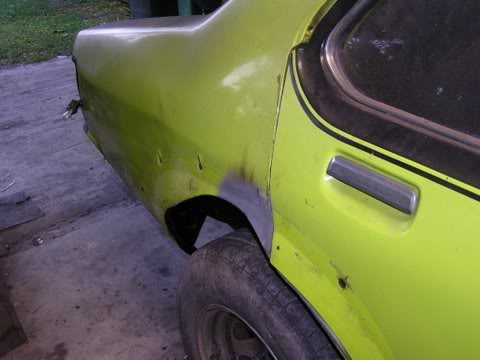
(ruined a perfectly good looking gmh black on interior of panels with extra coat of bitumen chassis paint!)
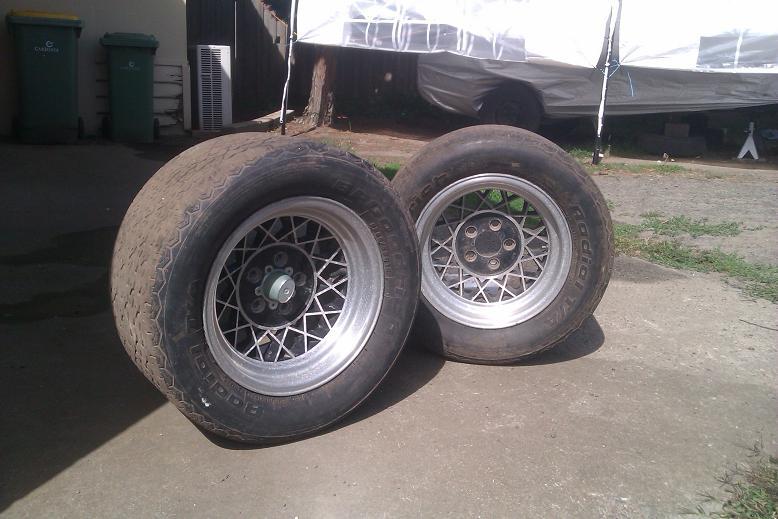
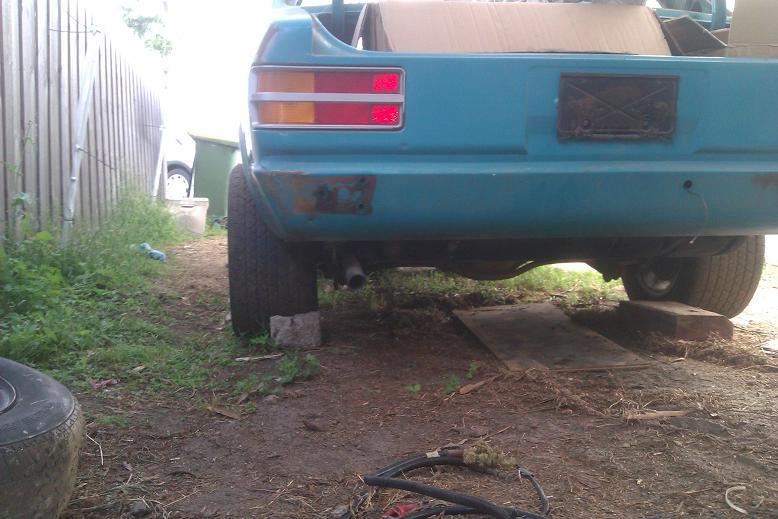
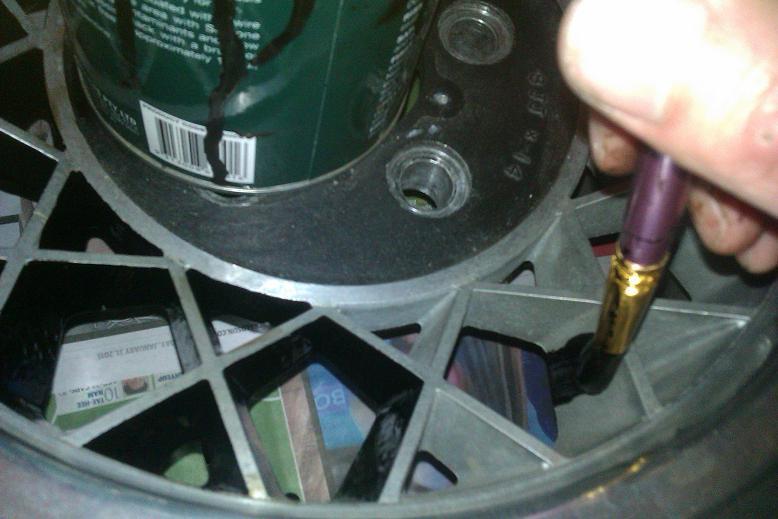
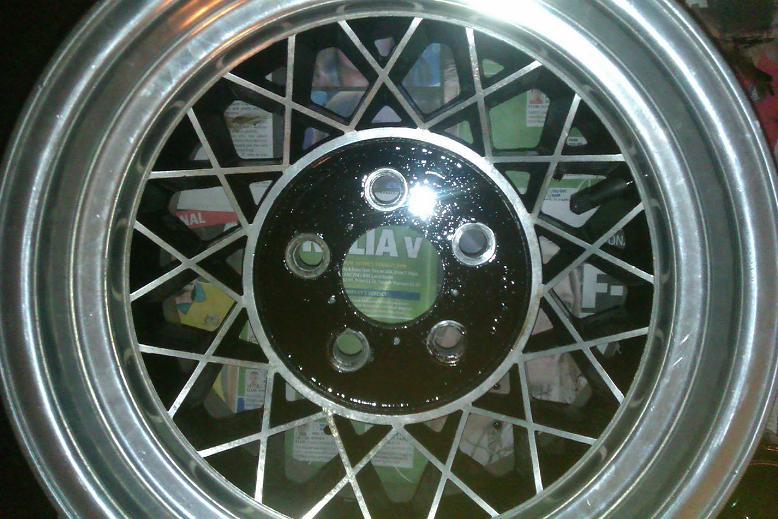
my new babies!

two to go:)

 1 votes

Posted 28 January 2015 - 07:38 PM
"start by doing one panel at a time"
doing exactly that..
and i'm not (yet) overwhelmed/.
(was good advice.)
(ruined a perfectly good looking gmh black on interior of panels with extra coat of bitumen chassis paint!)
my new babies!
two to go:)
Posted 28 January 2015 - 10:09 PM
Posted 28 January 2015 - 10:48 PM
and yet it's still going to seriously test my abilities!! ha
in all seriousness, am very fortunate barry, ive got a good chance to be a tory driver within a year or so with this base.
Edited by livo74, 28 January 2015 - 10:49 PM.
Posted 28 January 2015 - 11:48 PM
Having your "abilities seriously tested" is what makes doing up a car so rewarding, the more you can do yourself the bigger the reward. Most blokes would use a ute like my HR ute for a parts car but I'm enjoying having my abilities seriously tested. I've been working on it for around 3 years now, no where near finished all the rust work. Enjoy the challenge.
Regards
Posted 29 January 2015 - 08:40 AM
cheers duggan, am realizing feels rewarding to say "did it me-self" (..so far, will be getting help redoing brake lines and a few other things,)
but crikey, if i had the money, and someone said they could have it ready by next week..... i'd say "next week it is!!!!"
haha 
(especially understandable, i think, as i don't have another car/toy to enjoy in the meantime)
Posted 30 January 2015 - 06:01 PM
absolutely no contamination!!*

______________________________________________________________________
*that you can see, in this grainy image, taken from 3 meters away;)
actually worked pretty good friggin fortunately.( will be sealing walls/floor environment properly when doing top coats, )
Posted 31 January 2015 - 06:20 PM
+ 2 = 4
need buffing/work compared with other two immaculate ones (which need to be painted black)
and that's more like it!

as for why it's riding so high, abnormally high??
is it the springs?
Posted 31 January 2015 - 06:25 PM
even when not on jacks, very high at rear.
(has got 6 cyl at front carrying an 8, but still. ?)
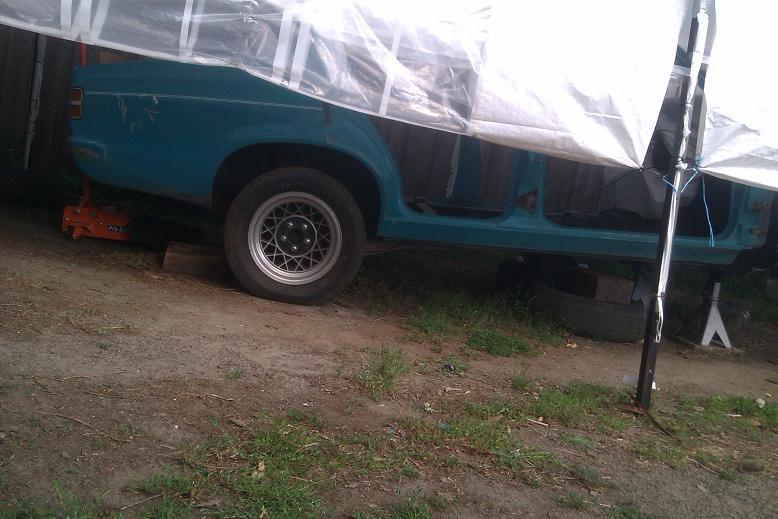
rear tyres are 265/50/14's.
when finished will be wearing 265-75/60/14 rears, and 245/50/14 fronts.
(hmm, power steering and a bit of firewall work/bashing, i suspect?)
Posted 31 January 2015 - 06:39 PM
plus, this came last week.
care of kingswood country, their 30 piece front end replacement kit.
..cus the front end's original stuff is just a tad knackered

Forum Fixture

Posted 31 January 2015 - 06:49 PM
Don't worry about the springs until the car is all together, at the moment you have an empty shell and you have the stands behind the balance point of the motor which will be helping lift the back of the car.
Posted 31 January 2015 - 07:00 PM
ah, that makes sense!
hmm was gonna start cutting guards.. might have to wait till get springs.. or just use "templates" provided by others posted on this site
Posted 31 January 2015 - 07:52 PM
(tyres barely half full of air. tried to fill on way home, but valves stuffed/wrong. wouldn't accept air)
Socially Distant

Posted 31 January 2015 - 08:33 PM
If you're playing with springs and cutting guards, may I suggest you remove the springs and shocks altogether, that way you can jack the suspension all the way up to the top of its travel to check for tyre clearance?
Posted 31 January 2015 - 09:37 PM
heya big,
interesting idea, haven't seen that done before on all the examples shown on site. imagine would show all possible travel well and truly.
am lowering car a little at rear, and an inch or more than little at front, so was just going to follow tried/tested examples of how much guards need to be cut for clearance.
Socially Distant
Posted 31 January 2015 - 10:01 PM
Ride height is one thing but you also have to account for the suspension bottoming-out over a speed bump when you've got a few mates in the back seat too.
Lifting the suspension all the way to the bump-stops and then, on the front at least, turning from lock to lock will show what clearance you have at an extreme worst-case scenario.
Surely I'm not the first to think of doing it this way???
Posted 31 January 2015 - 10:51 PM
am new to site, for all i know possibly not.
..though have read a few "bottoms out tad over bumps when full" haha
(fronts, many comment do have problems with when turning;)
mine's not going to be particularly low as some, though.
but, as can cut out front heaps easily, and rears to tried tested amount, outside of guards not really a prob. can't easily recess the rest of guard(inner/top) all too easily, imagine.
plus, plan to mount flares and cut as much away as will allow.
is yours cut? what are you riding size wise? can't tell from avatar pic
Edited by livo74, 31 January 2015 - 10:52 PM.
Posted 31 January 2015 - 11:20 PM
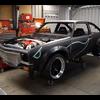
painting hotwires.
1 down, three to go.
(re-doing other two that are old paint job.)
didn't tape up, grease outer surface, etc,
just heaped paint on brush, starting at bottom and pulled brush upwards, leaning "away".
..and...
wiped off my many mistakes before dried
Socially Distant
Posted 31 January 2015 - 11:25 PM
My sedan is cut but was done before I got it, and not done very well I might add, but only has 265's on 14x8" Centrelines on the back so I haven't felt the need to re-do it yet. My hatch isn't flared yet, one day it will be but that's another story altogether. I have done other cars in the past though.
The rears on a sedan suck compared to a hatch but I guess you already knew that! You've probably seen it already but in case you haven't, have a read through Ruts' thread here:
http://www.gmh-toran...tart-to-finish/
Somewhere around here there were some pictures of how the original A9X sedan rear quarters were cut, I can't find it again now but from memory it was pretty tame compared to what others have done.
Posted 31 January 2015 - 11:37 PM
saw/read that, helpful as.
and yup, hatch less hassle than sedan with doors!
might be this pic you mean. had ift saved (along with many others!) for reference
saw another pic showing a race car with original cut, had logo on and under flares if remember correctly
Edited by livo74, 31 January 2015 - 11:46 PM.
Socially Distant
Posted 31 January 2015 - 11:44 PM
Nah, this was the picture I was thinking of...
 L34 Guards.jpg 341.16K
20 downloads
L34 Guards.jpg 341.16K
20 downloads
...but it does look very similar.
Posted 01 February 2015 - 09:27 AM
ha, just as unevenly hacked as the example i gave! straight from the factory.
and, jeez! they really believe that that is enough even allowing for the furthest of travel.
and with brocky racing with lowered, widest wheels?
am cutting out more than that myself, especially as may get 10 rears in future
Posted 01 February 2015 - 02:02 PM
worried i wouldn't be able to afford/find all 8's, but the gods were kind; and didn't have to travel very far too


don't worry, cat due to be put down week am doing topcoats
Posted 01 February 2015 - 06:24 PM
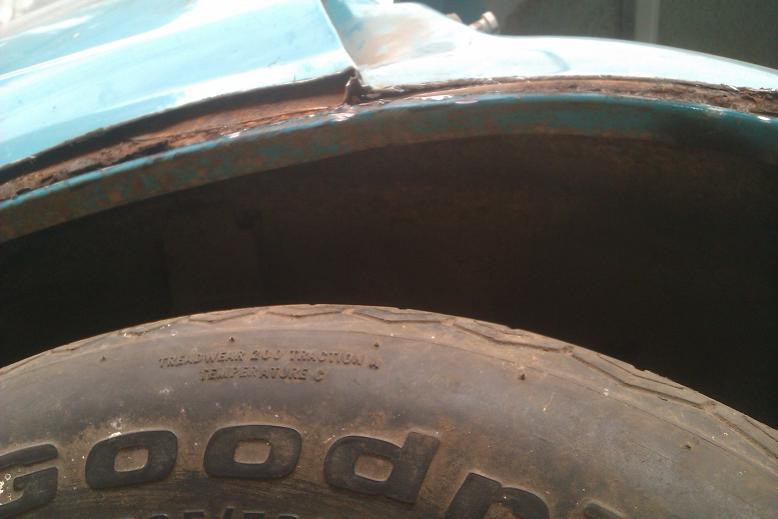
how to cut guards for flares on a torana?
copy the directions and advice of those who went before you!!
(couldn't of done it to my liking/as easily without your help, ghmtorana-ee's. massive thankyou)
_______________
marked area to be cut

(grew bigger balls and stopped fkn freaking out, and) started cutting

chopped lower line to expose under layer

and this is my gap (at the height of cut i chose)
removed side not needing work (other than being pinched together and welded)

cut so could easily bend to shape

this part is dual layered, recommend just barely cutting/nipping thru first layer and yanking off.
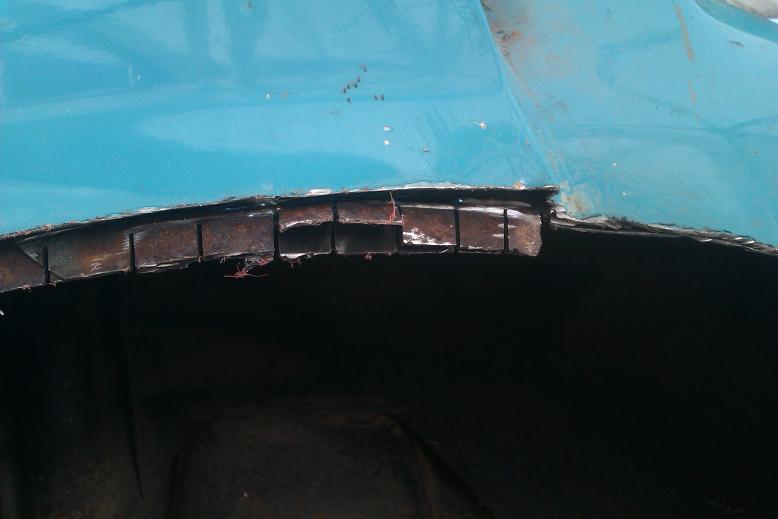
now ready for bashing with a hammer

and looks like this.
(will get off my ass and remove tyre so can actually bash/form better before welding)

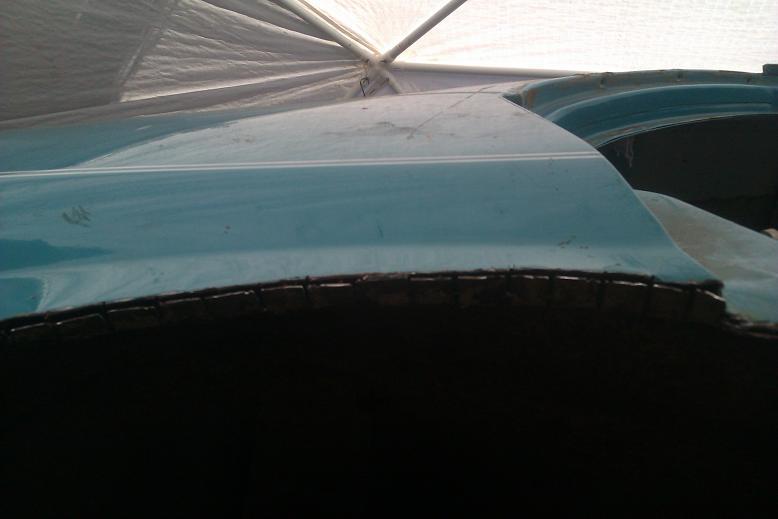
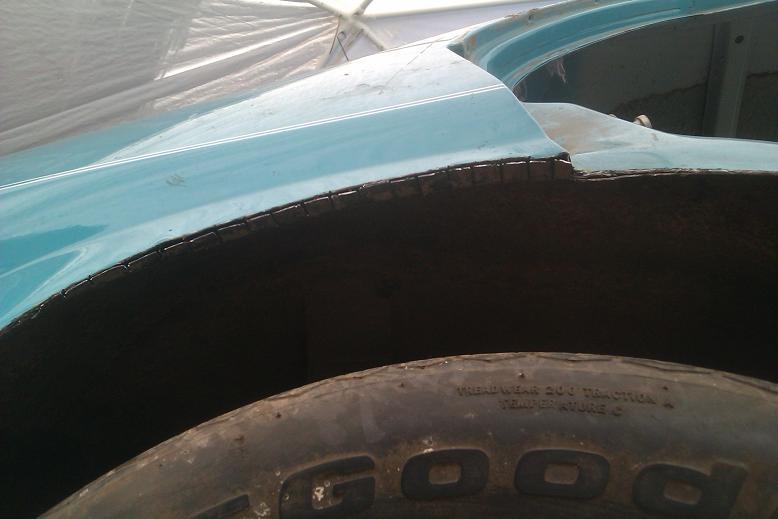
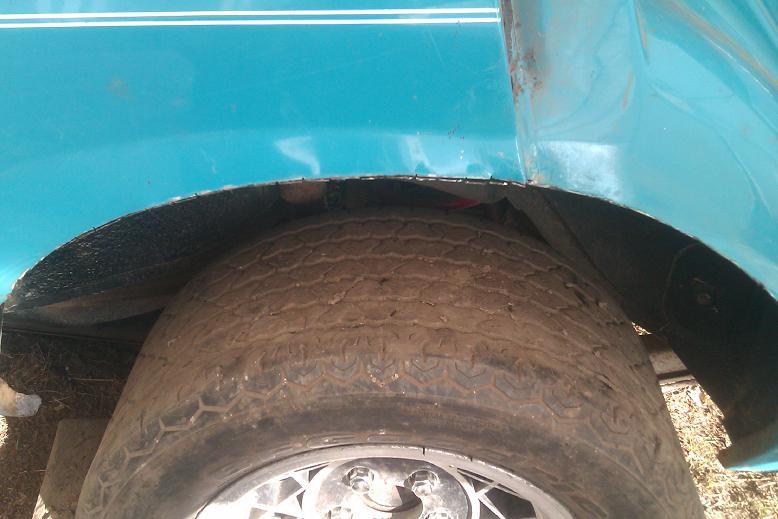
very fortunately, seems my guess work for how much to leave to bend over was spot on.
__________________
next, do the other wheel arch,
then, learn how to weld! using my new welder bought from ebay for $160 delivered.
(have a mate who says will teach/guide me)
Socially Distant
Posted 01 February 2015 - 07:07 PM
Love yer work Mat, looks like it was done by a pro!
Hmm... so you just bought a welder and your first job will be welding upside down inside a wheel arch, you certainly jump in at the deep end.
BTW, I found Ruts' sedan thread, which was the one I meant to direct you to in the first place, you've probably seen it already but he starts cutting rear doors here:
http://www.gmh-toran...sh/#entry318360
Posted 01 February 2015 - 07:35 PM
big cheers andrew, took two hours of pacing/procrastinating and only 40 minutes to do
as for welding, the whole things the deep end for me! haha
read that thread, and others posted on here,
were a great help and reviewed all their pics (that i had saved to a folder) before starting


0 members, 1 guests, 0 anonymous users

